Welcome to the world of needlepoint! This comprehensive guide offers a curated collection of needlepoint stitches, perfect for both beginners and experienced stitchers. Discover the joy of creating beautiful, textured designs with our easy-to-follow tutorials.
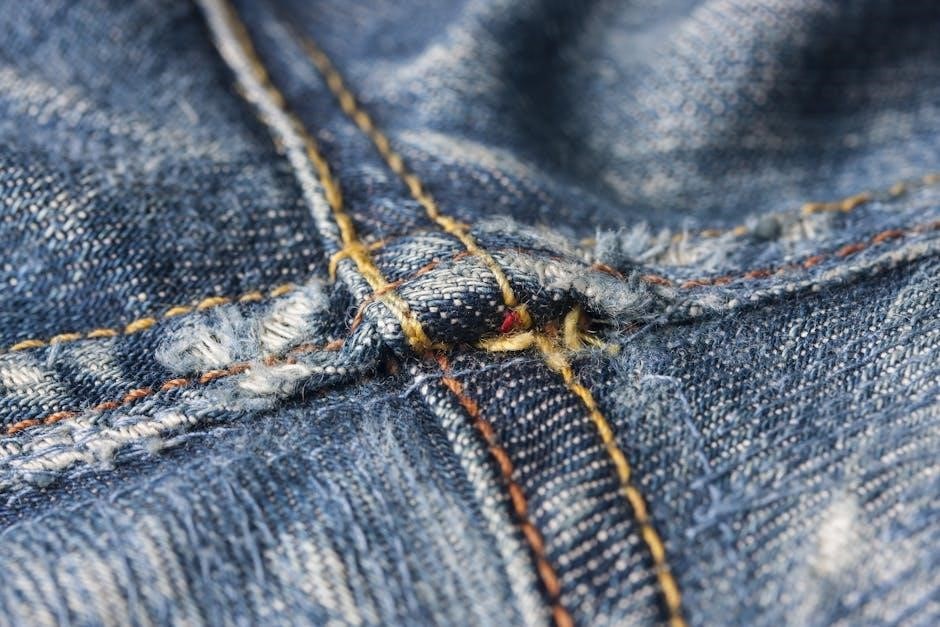
Needlepoint, a timeless craft, involves stitching through canvas to create intricate designs. The foundation of any needlepoint project lies in mastering various stitches. This guide introduces you to a diverse range of stitches, from basic tent stitches to advanced decorative techniques. Each stitch offers a unique texture and visual appeal, allowing you to personalize your projects. Explore the versatility of needlepoint by experimenting with different stitches to achieve stunning effects. Whether you’re creating a background fill or highlighting a design motif, understanding the nuances of each stitch is crucial. Dive into the world of needlepoint stitches and unlock your creative potential! Our tutorials provide step-by-step instructions to help you master each technique.
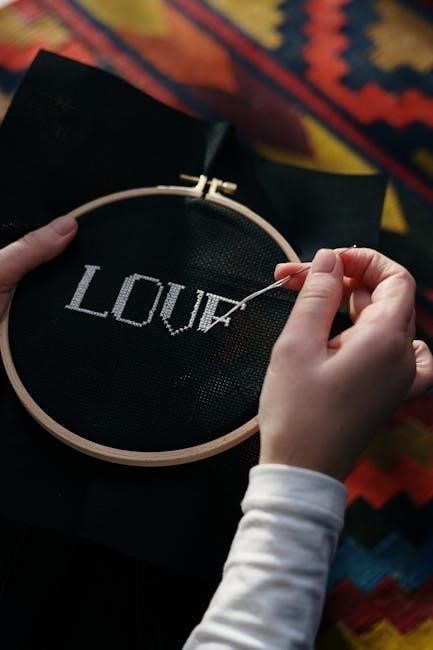
Basic Needlepoint Stitches
Master the fundamentals of needlepoint with our guide to basic stitches. These essential techniques form the foundation for more complex designs, ensuring a solid start to your needlepoint journey.
Tent Stitch Family
The tent stitch family forms the cornerstone of needlepoint, known for its versatility and foundational role in most projects. These stitches, worked diagonally on the canvas, provide a base for intricate designs. Most diagonal needlepoint stitches derive from the traditional tent stitch, offering variations that add texture and depth.
Explore the Continental, Half-Cross, and Basketweave stitches, each a unique member of this family. Mastering these techniques opens the door to countless creative possibilities, enabling you to fill backgrounds and execute detailed design motifs with confidence and precision. These stitches are essential for achieving a professional finish.
Continental Stitch
The Continental stitch is a fundamental technique in needlepoint, known for its durability and versatility. It provides excellent coverage, making it ideal for areas that require a robust finish. This stitch is worked diagonally, creating a solid, consistent texture on the canvas.
While it uses more thread than some other stitches, the Continental stitch offers superior wear resistance, making it a popular choice for items that will see frequent use. Mastering this stitch is essential for any needlepoint enthusiast, providing a strong foundation for more complex designs and ensuring a long-lasting, high-quality result.
Half-Cross Tent Stitch
The Half-Cross Tent stitch is a simpler variation of the traditional tent stitches, offering a quicker way to fill areas in your needlepoint projects. This stitch is worked diagonally, but unlike the Continental or Basketweave stitches, it only covers half of the canvas intersection.
While faster to execute, the Half-Cross Tent stitch uses less thread and therefore provides less coverage, potentially allowing the canvas to show through. It’s best suited for areas where durability isn’t a primary concern or when working with tightly woven canvases. Consider its limitations for high-wear items.
Basketweave Stitch
The Basketweave stitch is a popular and sturdy needlepoint stitch known for its excellent canvas coverage and durability. It’s an ideal choice for backgrounds and larger areas in your projects. What sets the Basketweave apart is the unique pattern it creates on the back of the canvas, resembling a woven basket.
This stitch involves working alternating rows of diagonal stitches, creating a strong and uniform fabric. The basketweave pattern on the back prevents the canvas from becoming distorted, making it a reliable option for projects that require longevity and a professional finish. Mastering the Basketweave is a valuable skill for any needlepointer.
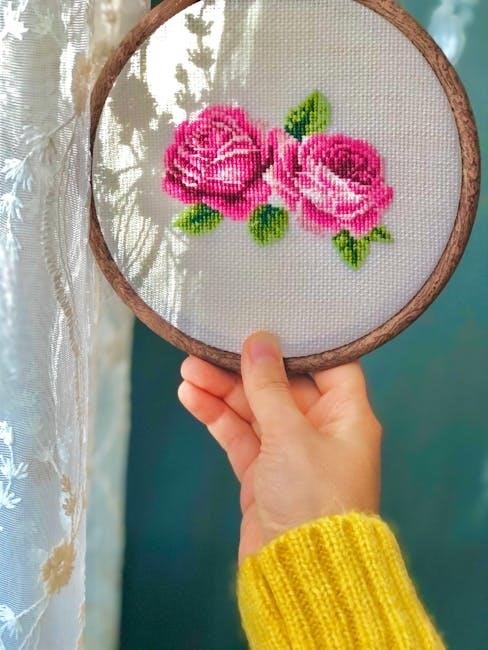
Decorative Needlepoint Stitches
Elevate your needlepoint with decorative stitches! Explore a range of techniques, from the intricate Byzantine Mosaic to the textured Waffle Stitch. These stitches add unique visual interest to your projects.
Beyond the basic tent stitch lies a world of decorative needlepoint stitches, ready to transform your canvas into a work of art. These stitches offer a fantastic way to add texture, dimension, and visual interest to your needlepoint projects. Decorative stitches can be used to fill backgrounds, highlight specific motifs, or create unique patterns.
Unlike the uniform coverage of tent stitches, decorative stitches often have a more pronounced appearance, making them ideal for adding personality and flair. From geometric patterns to organic shapes, the possibilities are endless. Experiment with different thread types and colors to further enhance the impact of these beautiful stitches. Get ready to explore the creative potential of decorative needlepoint!
Byzantine Mosaic Stitch
The Byzantine Mosaic stitch is a captivating decorative needlepoint stitch, known for its intricate and visually appealing pattern. This stitch is created by combining Byzantine stitches, worked over two canvas threads, with mosaic stitches in alternating diagonal rows. The result is a textured, geometric design that adds depth and sophistication to any needlepoint project.
Ideal for filling backgrounds or creating eye-catching motifs, the Byzantine Mosaic stitch offers a unique way to showcase your stitching skills. By alternating the direction and length of the stitches, you can create a dynamic and engaging visual effect. This stitch is especially effective when using multiple colors or thread types to highlight its intricate structure.
Scotch Stitch
The Scotch stitch is a versatile and visually appealing needlepoint stitch that creates a distinctive textured pattern. It is worked over a square area, typically four canvas threads by four canvas threads, forming a block-like design. The stitch consists of diagonal, horizontal, and vertical stitches, all emanating from the center of the square.
This stitch is excellent for filling larger areas, adding dimension to borders, or creating geometric motifs within your needlepoint design. By varying the colors or thread types used for each stitch direction, you can create striking visual effects. The Scotch stitch is relatively easy to learn and execute.
Rhodes Square Stitch
The Rhodes Square stitch is a striking decorative needlepoint stitch that creates a raised, geometric pattern. This stitch is worked over a square area on the canvas, with all stitches radiating from a central point. The Rhodes Square stitch is a beautiful choice for focal points, geometric designs, or adding a touch of elegance to your needlepoint projects.
Each stitch in the square crosses over a specific number of canvas threads. The number of threads crossed determines the size of the finished square. The Rhodes stitch is a bit more advanced but creates a beautiful focal point.
Waffle Stitch
The Waffle stitch is a textured needlepoint stitch that creates a raised, grid-like effect, resembling the surface of a waffle. This stitch is worked over a square area on the canvas and is created by combining vertical and horizontal stitches. The waffle stitch is very popular and used for backgrounds, borders, or geometric designs.
The waffle stitch is typically worked over a larger area, making it a good choice for filling in backgrounds or creating a bold statement. The stitch is known for its three-dimensional appearance. The Waffle stitch adds depth and dimension to any needlepoint.
Bound Cross Stitch
The Bound Cross Stitch is a decorative needlepoint stitch that adds a unique texture and visual interest to your projects. It is a variation of the traditional cross stitch, where the arms of the cross are “bound” or wrapped with a contrasting thread. This binding creates a raised and dimensional effect, making it stand out from ordinary stitches.
This stitch is excellent for borders, accents, or filling in small areas where you want to create a focal point. The texture of the bound cross stitch can also add depth to a design.
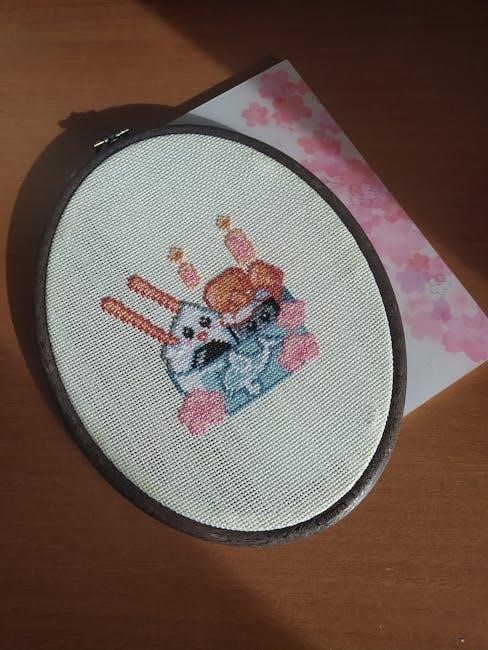
Advanced Needlepoint Stitches
Ready to elevate your needlepoint skills? Explore our collection of advanced stitches, designed for experienced stitchers seeking a challenge. Master intricate techniques and create stunning, complex designs with these stitches.
Bullion Knot (Bullion Stitch)
The Bullion Knot, also known as the Bullion Stitch, is an advanced needlepoint stitch that adds a unique, textured element to your projects. This elongated, coiled stitch creates a raised, three-dimensional effect, perfect for adding detail to floral motifs, animal fur, or decorative accents. Mastering the Bullion Knot requires patience and practice, but the stunning results are well worth the effort. This stitch involves wrapping the thread around the needle multiple times before re-inserting it into the canvas, creating a tightly coiled knot. For visual learners, Needlepoint Now offers a helpful video tutorial on YouTube to guide you through the process.
Finishing Stitches
Finishing stitches are essential for a polished needlepoint project. These techniques secure edges and add a professional touch. Explore the art of the Binding Stitch to complete your work neatly.
Binding Stitch
The Binding Stitch is a crucial finishing technique in needlepoint, designed to create a neat and durable edge for your completed projects. This stitch effectively secures the canvas edges, preventing fraying and ensuring a professional look. Mastering the Binding Stitch involves a series of simple yet precise steps. Begin by folding the canvas edges to the back, then use a sturdy thread to create a series of diagonal stitches that wrap around the edge.
These stitches should be close together, forming a tight bond that holds the canvas in place. The Binding Stitch not only reinforces the edges but also provides a clean, finished appearance. Perfect for beginners and advanced crafters alike, this technique elevates the overall quality of your needlepoint creations, adding both aesthetic appeal and structural integrity.
Needlepoint Techniques
Explore essential needlepoint techniques to enhance your stitching skills. Learn how to start and end stitches seamlessly, master waste knots, and discover tips for creating professional-looking needlepoint projects every time.
Starting and Ending Stitches
Mastering the art of starting and ending threads is crucial for neat and secure needlepoint. Begin by using a waste knot on top of the canvas, securing it with initial stitches. To start, leave a tail to secure at the end. Learn the running stitch around the perimeter of the fabric.
When ending a thread, weave the needle through the back of several stitches to secure it. Avoid bulky knots that can distort the canvas. Proper techniques ensure a professional finish, preventing unraveling and maintaining the integrity of your needlepoint design. These methods provide a clean look.
Using Waste Knots
A waste knot, also known as an away knot, is a temporary knot used to secure the beginning of your thread in needlepoint. Position the waste knot on top of the canvas, away from the intended stitching area. After several stitches secure the working thread, carefully cut the waste knot close to the canvas.
The waste knot ensures the thread stays in place while you begin stitching, providing a clean start. It’s particularly useful for projects with light-colored canvas, where burying the thread might be visible. Remember to remove it once your stitches are firmly anchored.
Needlepoint Stitch Tutorials
Unlock your needlepoint potential with our stitch tutorials! We offer video and diagram-based instructions for a variety of stitches. Master new techniques and elevate your needlepoint projects today!
Video Tutorials
Explore our extensive collection of video tutorials, designed to guide you through each needlepoint stitch with clarity. From basic techniques like the Tent stitch to more complex patterns such as the Byzantine Mosaic and Bullion Knot, our videos offer a visual learning experience. Each tutorial provides step-by-step instructions, close-up demonstrations, and helpful tips to ensure your success. Whether you’re a beginner or an advanced stitcher, these videos will enhance your skills and inspire your creativity. Discover the joy of learning new stitches and mastering the art of needlepoint through our detailed and engaging video resources. Improve your technique and create stunning needlepoint projects with confidence.
Diagrams and Instructions
Complementing our video tutorials, this section provides detailed diagrams and written instructions for a wide array of needlepoint stitches. Each stitch is illustrated with clear, step-by-step diagrams, making it easy to visualize the needle placement and thread direction. The accompanying instructions offer concise explanations of the stitching process, including tips for achieving optimal tension and even coverage. Whether you prefer visual or written guidance, these resources cater to diverse learning styles. From basic stitches like the Continental to decorative options like the Rhodes Square, our diagrams and instructions provide a comprehensive guide to mastering needlepoint. Enhance your stitching skills and confidently create intricate designs with these invaluable resources.
Resources for Learning Needlepoint
Embark on your needlepoint journey with our curated resources! Discover kits for all skill levels, plus online classes and tutorials to master new stitches and techniques, ensuring a successful and enjoyable crafting experience.
Needlepoint Kits
Dive into the world of needlepoint with expertly curated kits, designed for all skill levels from beginner to advanced. These kits provide everything you need to start a project, including pre-printed canvases, a variety of vibrant threads, needles, and easy-to-follow instructions. Perfect for learning new stitches or expanding your existing skills, these kits offer a convenient and enjoyable way to create beautiful, handcrafted pieces. From simple designs to more intricate patterns, find a kit that matches your interests and skill level. Explore different themes and styles, allowing you to create personalized home decor or thoughtful gifts. Start your needlepoint adventure today!
Online Classes and Tutorials
Unlock the art of needlepoint from the comfort of your home with our extensive collection of online classes and tutorials. Whether you’re a beginner eager to learn the basics or an experienced stitcher looking to master advanced techniques, we have resources to suit every skill level. Access step-by-step video tutorials, detailed diagrams, and expert guidance to help you perfect your stitching. Explore a variety of stitches, from the fundamental tent stitch to intricate decorative patterns. Engage with interactive courses, allowing you to ask questions and receive personalized feedback. Enhance your skills and create stunning needlepoint projects with our comprehensive online learning platform. Start your needlepoint journey today!
Tips for Choosing Stitches
Selecting the right needlepoint stitches can elevate your project. Consider your skill level, design motifs, and desired texture. Experiment with different stitches to achieve unique and visually appealing results.
Considering Skill Level
When embarking on a needlepoint project, it’s crucial to consider your current skill level. Beginners should start with basic stitches like the Tent stitch family, including Continental, Half-Cross, and Basketweave. These stitches provide a solid foundation for understanding canvas coverage and tension control. As you gain confidence, explore decorative stitches like the Byzantine Mosaic or Scotch stitch, gradually progressing to more advanced techniques such as the Bullion Knot. Choosing stitches that align with your expertise ensures a more enjoyable and successful stitching experience, preventing frustration and encouraging further exploration of the craft. Remember, practice makes perfect!
Matching Stitches to Design Motifs
Selecting the right stitch to complement your design motif is essential for achieving a visually appealing and impactful needlepoint piece. Consider the texture, direction, and density of each stitch in relation to the specific area you’re filling. For example, the Basketweave stitch is ideal for backgrounds due to its durability and even coverage, while the Rhodes stitch can add dimension and focus to smaller, geometric elements. Experiment with different stitches to see how they interact with the design’s lines, shapes, and colors. Ultimately, the goal is to choose stitches that enhance the overall aesthetic and bring your creative vision to life.
Leave a Reply